How to install Drupal CMS
Let’s get started by creating a sandbox on your computer. Instead of jumping straight into building online, you’ll create a local space on your computer where you can experiment, make mistakes (it’s okay, we all do!), and discover how Drupal CMS works–no pressure!
In this tutorial, we’ll walk through how to set up this space using DDEV, a tool that makes it possible to build out your site at your own pace. It will help you get your Drupal CMS workspace up and running without you needing to know all of the technical details.
Before starting with Drupal CMS installation, ensure the system requirements are fulfilled. Let’s dive into each of them with the minimum version supported:
Prerequisites
- Docker: Using Docker to install Drupal is a streamlined way to manage your development setup. It lets you containerize Drupal and its dependencies, making your environment consistent and portable.
- DDEV: DDEV is a fantastic tool for setting up and managing local development environments for Drupal projects.
- Git: Git is a powerful distributed version control system that helps developers track changes in their code, collaborate with others, and manage projects efficiently. (optional but recommended).
Step 1: Install DDEV
- Download and install Docker from Docker’s official website.
- Install DDEV by following the installation guide for your operating system.
- Verify installation by running:
ddev --versionIf DDEV is installed correctly, you will see its version number.
Step 2: Create a New Drupal Project
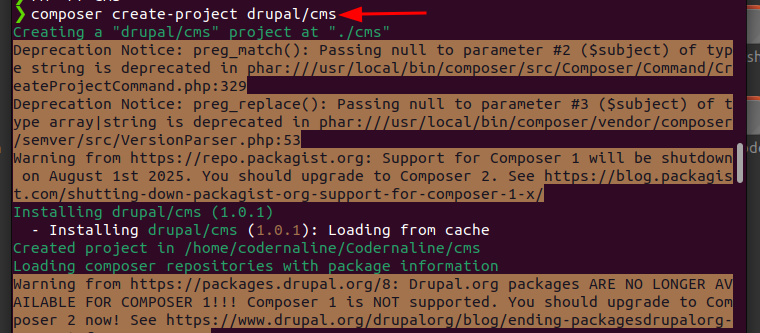
To create a Drupal project, we will go to the path of the system where we will create our project. And we will open our command prompt or terminal where we can run our command. To create project run the following command:

After running 'create project command' you have a project folder with name of CMS, it's your project directory enter into it .
cd cms
Insure you are in 'project directory'. After that we'll configure DDEV in our project by running the following command:
DDEV Config
When you run 'Configuration Command', it will ask you for some information to setup your project like:
- Project name: Your Project Name (according to you)
- Root Location: Web
- project type: Drupal
After this, run 'ddev start command', The 'ddev start command' initializes and starts the DDEV-managed Docker containers, creating a local environment tailored for your project. It also provides a local URL to access and develop your Drupal site.
ddev start
Now, Our project setup has been completed but we are not ready to run it yet. To run it, we will have to install the Drupal project packages with the help of 'composer'.
ddev composer install
Once the required packages are installed we will restart DDEV.
ddev restart
Now the project is installed and ready to run. Copy URL and Open it in your browser, your project is ready.


